DIY Polymer Clay Jewelry Organizer
Well, I must confess that working with clay is not that easy as I have imagined...especially because it was an air-dry clay, that after some molding , shaping and reshaping it lost its flexibility. But I have done it and what resulted is quite spectacular :-) Well...I'll let you be the judge of that.

At first, I had no idea what I wanted to do....a plate, a bowl, a doll, some jewelry...but than it hit me: all my earrings were laying around the house, in boxes, on glasses or bags. I had no beautiful place to display them for my customers. So I decided to make myself a jewelry organizer / holder and it was really fun. I made a polymer clay frame, that I gave an old golden vintage patina. Of course, you can also use it for framing a picture or a painting. You choose its purpose.
 1. Fimo Air dry polymer clay
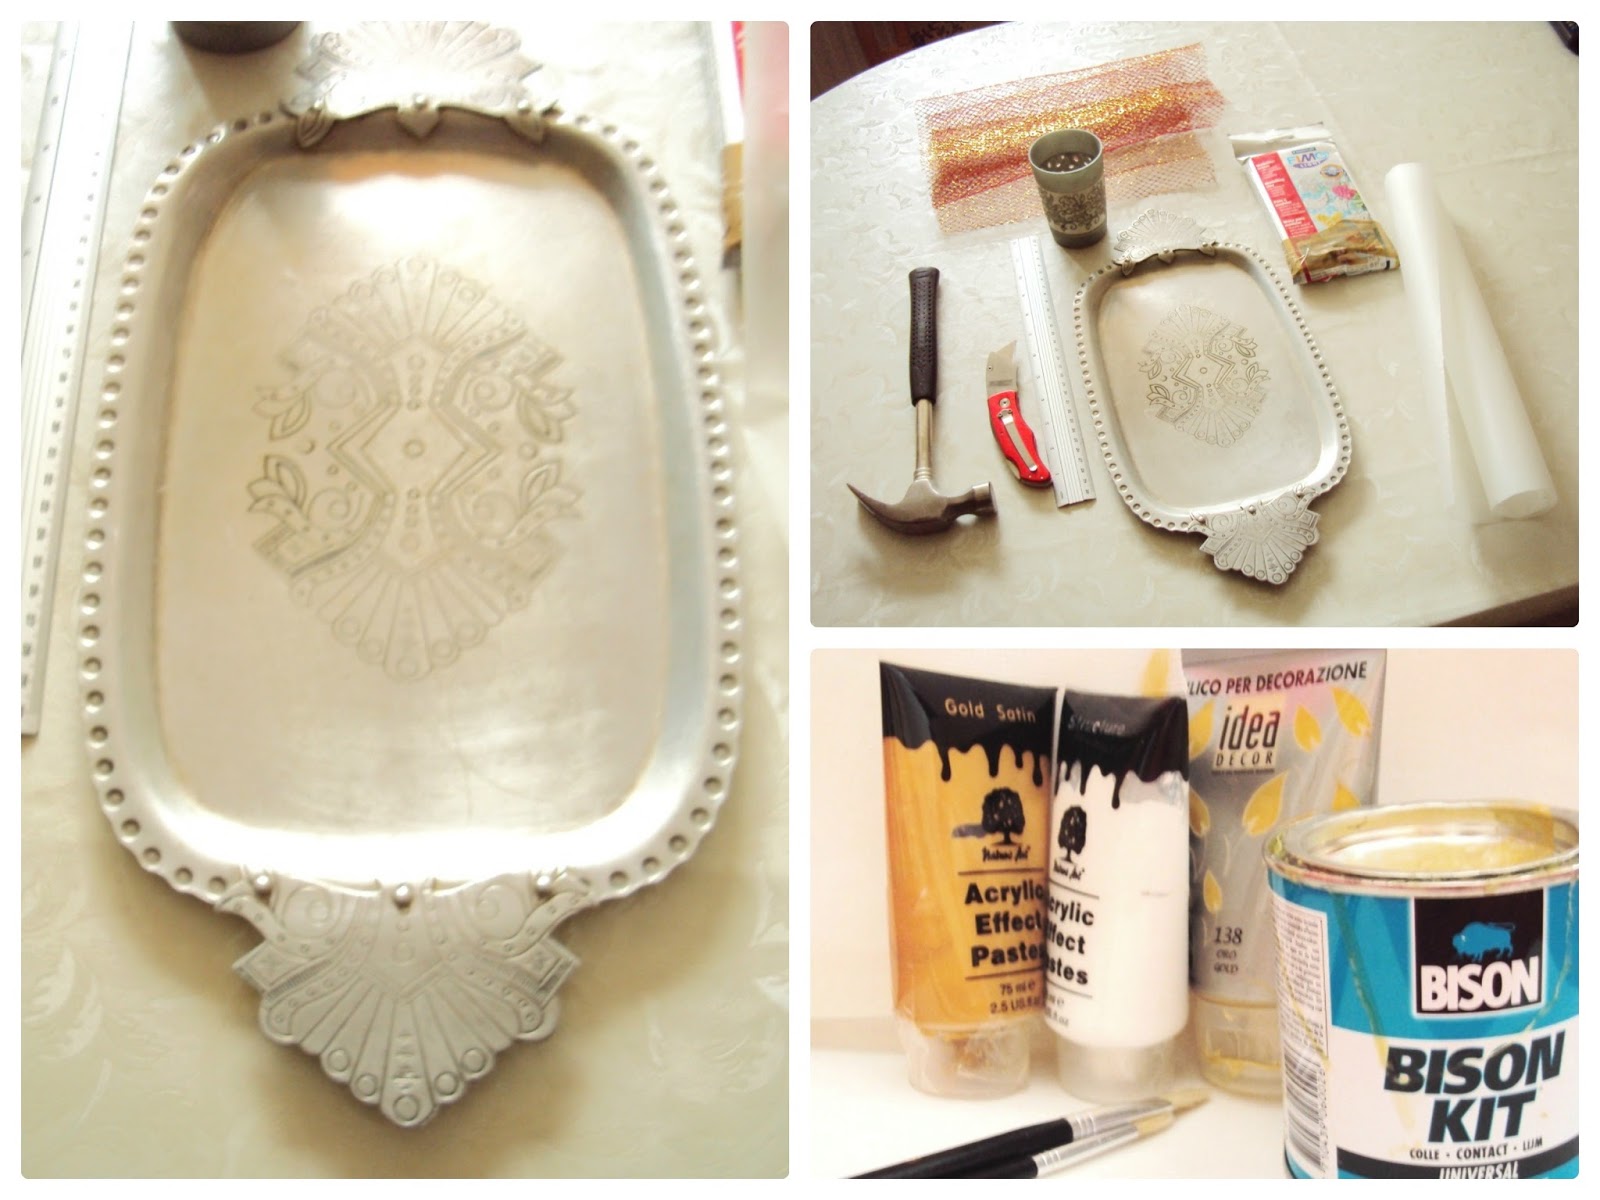
2. an old patterned tray
3. cutter
4. wax paper
5. hammer
6. cutter
7. cardboard
8. net
9. acrylic paints + paintbrushes
10. super strong glue
11. ruler
12. roller


At first, I had no idea what I wanted to do....a plate, a bowl, a doll, some jewelry...but than it hit me: all my earrings were laying around the house, in boxes, on glasses or bags. I had no beautiful place to display them for my customers. So I decided to make myself a jewelry organizer / holder and it was really fun. I made a polymer clay frame, that I gave an old golden vintage patina. Of course, you can also use it for framing a picture or a painting. You choose its purpose.
Here is what you need:
2. an old patterned tray
3. cutter
4. wax paper
5. hammer
6. cutter
7. cardboard
8. net
9. acrylic paints + paintbrushes
10. super strong glue
11. ruler
12. roller
Step by Step Instructions:
1. Start by shaping the clay. Place it between 2 sheets of wax paper and roll it with a wooden roller or something heavy. Cut the clay in 1.5 inch wide pieces and place them on the edges of the tray.
Press the clay really well to make sure those beautiful floral motifs will imprint onto the clay. Make sure the clay is thick enough ( about 3-4 mm minimum), or else it will brake! Press it gently with the roller to even the back surface as well. Smooth any imperfections with your fingers by adding a small amount of water.
2. Remove the excess clay with the cutter and make sure the edges are as sharp as possible. Let the clay dry for 15 minutes and than gently remove it from the tray!
It should look like this:

3. Place the clay onto a very flat surface and try to fix any irregularities with your damp fingers.
Let it air dry for at least 24 hours!
4. After the clay has set, place it over a piece of cardboard ( I bought a photography holder, with a plastic base, to place it on a shelf or to hang it). Trace the shape of the frame and than cut it with our very sharp cutter.
5. Glue the net onto the cardboard and than the polymer clay. Cut off any excess net and burn the edges.

6. Start painting and get creative. :-)
I used white paint for the inside, as the cardboard was brown. And I painted the frame gold, with an old patina look, as the Fimo polymer clay looks like wood when it's dry.
7. And that's it! Hang it, display it, with your favorite earrings or add a beautiful photo. :-)
Hope you liked my first DIY project. ♥


Great project, well done :)
ReplyDeleteThank you dear Estella :-), glad you like it!
DeleteSo that's what it was! :)
ReplyDeleteLove it! :)
Very creative :) I might try this lovely project! Thanks for sharing :)
ReplyDeleteAmazing, Sorina!!! Its very creative idea and you made it excellent!!!!
ReplyDeleteThank you girls! Thanks for letting me know! ♥
ReplyDeletegreat idea!
ReplyDelete